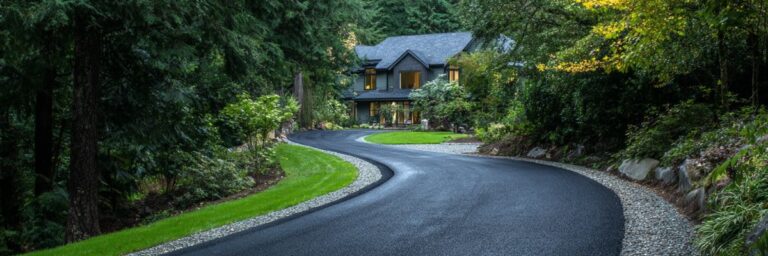
Driveway Construction: Materials, Steps, and Costs
A dependable driveway starts well below the surface you see. Driveway construction works best when you match the material to your site (asphalt for a smooth, flexible surface; concrete for long service life and finish options; gravel for the lowest upfront cost) and then build it on a well-compacted crushed-rock base with planned drainage. In the Pacific Northwest, rain finds every weak spot. Base preparation and runoff control decide how long the surface lasts more than the top layer does.
Seattle-area homeowners also deal with steep lots, clay soils, and city rules about where a driveway meets the street. Getting those details right before excavation keeps a project on budget and avoids rework. If you are weighing materials or comparing bids, you can call us at 206-384-8783 or request a free quote online to talk through your property.
Key Takeaways
- A firm subgrade and compacted base protect any driveway surface from wet-weather failure.
- Slope, drainage, and permits should be settled before anyone digs.
- Routine crack, joint, and drainage care adds years to a new driveway.
Which Driveway Material Fits Your Property?
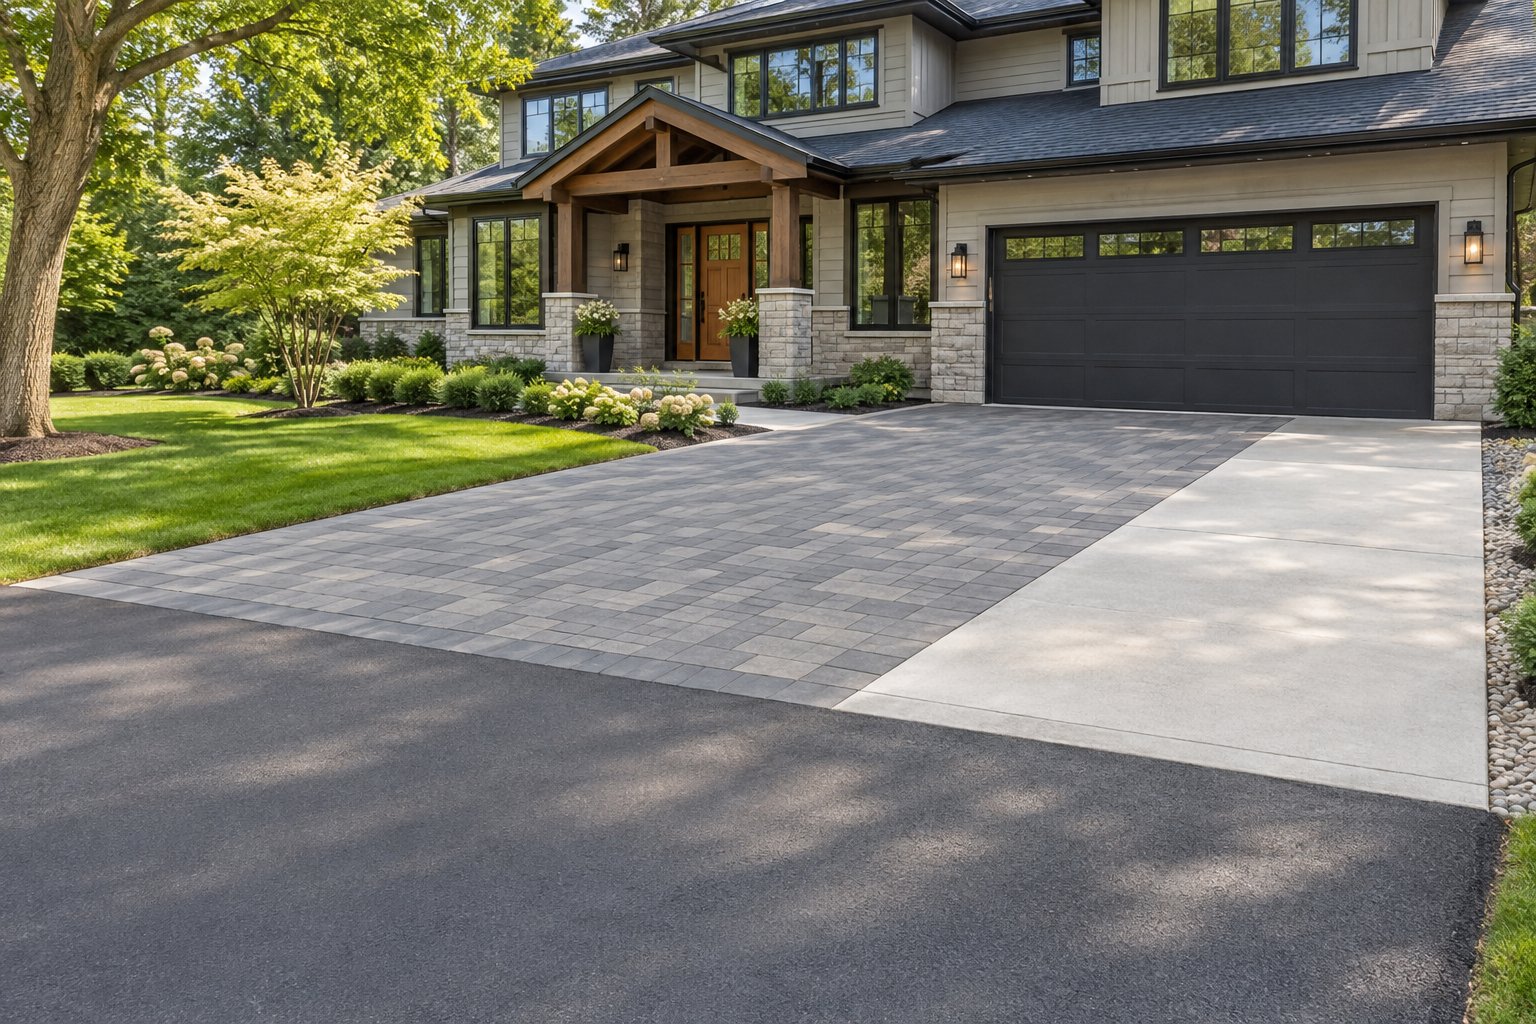
Asphalt, concrete, and gravel all work in Western Washington when they sit on a solid base. They differ in upfront cost, finish, upkeep, and how they handle slope and heavy loads.
Asphalt for a Smooth, Continuous Surface
Asphalt gives you a dark, seamless surface with no joints. It flexes slightly under load and during temperature swings, which helps it ride out minor ground movement. It also goes down fast, and crews can blend new asphalt into an existing street apron or parking area cleanly.
The trade-off is upkeep. Asphalt needs crack filling and periodic sealcoating to protect it from water and sun. Published Seattle-area estimates put asphalt driveway lifespan around 15 to 20 years for a 2-inch layer, with thicker sections lasting longer. Our asphalt paving services cover driveways, private roads, and parking areas where a smooth, continuous surface fits the property.
Concrete for Finish Options and Long-Term Use
Concrete is rigid, light in color, and long-lasting. You can choose a broom finish for traction, add color, or use stamped patterns. Seattle’s moderate winters are easier on concrete than climates with hard freezes, and published local guides cite service lives of 30 to 50 years with basic care.
Concrete costs more upfront and takes longer before you can drive on it. It also cracks: control joints are cut to guide where those cracks form. Many homeowners pair materials, such as an asphalt drive with a concrete pad near the garage. Our concrete contractor team handles driveways, pads, and garage floors, so combined projects can be coordinated by one crew.
Gravel for Lower Upfront Costs and Ongoing Upkeep
Gravel has the lowest installation cost and suits long rural drives, overflow parking, and properties where paving isn’t practical yet. Crushed angular rock locks together better than round stone and stays in place under tires.
Expect regular work to keep it usable. Rain washes fines out, tires push rock to the edges, and potholes form in low spots. You will add aggregate and regrade every year or two in a wet climate. Gravel also struggles on steep grades. Seattle street standards, for example, do not permit crushed rock on streets or alleys steeper than 10 percent.
How Slope, Vehicle Loads, and Northwest Weather Affect Your Choice
Match the material to the site’s hardest condition:
| Condition | Asphalt | Concrete | Gravel |
|---|---|---|---|
| Steep grade | Good with proper base | Good, broom finish helps traction | Poor, washes out |
| Heavy trucks or RVs | Good with thicker section | Very good with proper thickness | Fair, ruts form |
| Wet-weather upkeep | Crack fill, sealcoat | Joint sealing | Regrading, new rock |
| Return to use | Fast | Slower, needs curing | Immediate |
On steep Seattle lots, the transition at the street and garage matters as much as the material. Heavy delivery trucks, boat trailers, or RVs call for a thicker pavement section and a deeper base. Shaded, damp areas grow moss on any surface, so plan for drainage and sun exposure when choosing finishes.
What Should You Plan Before Breaking Ground?
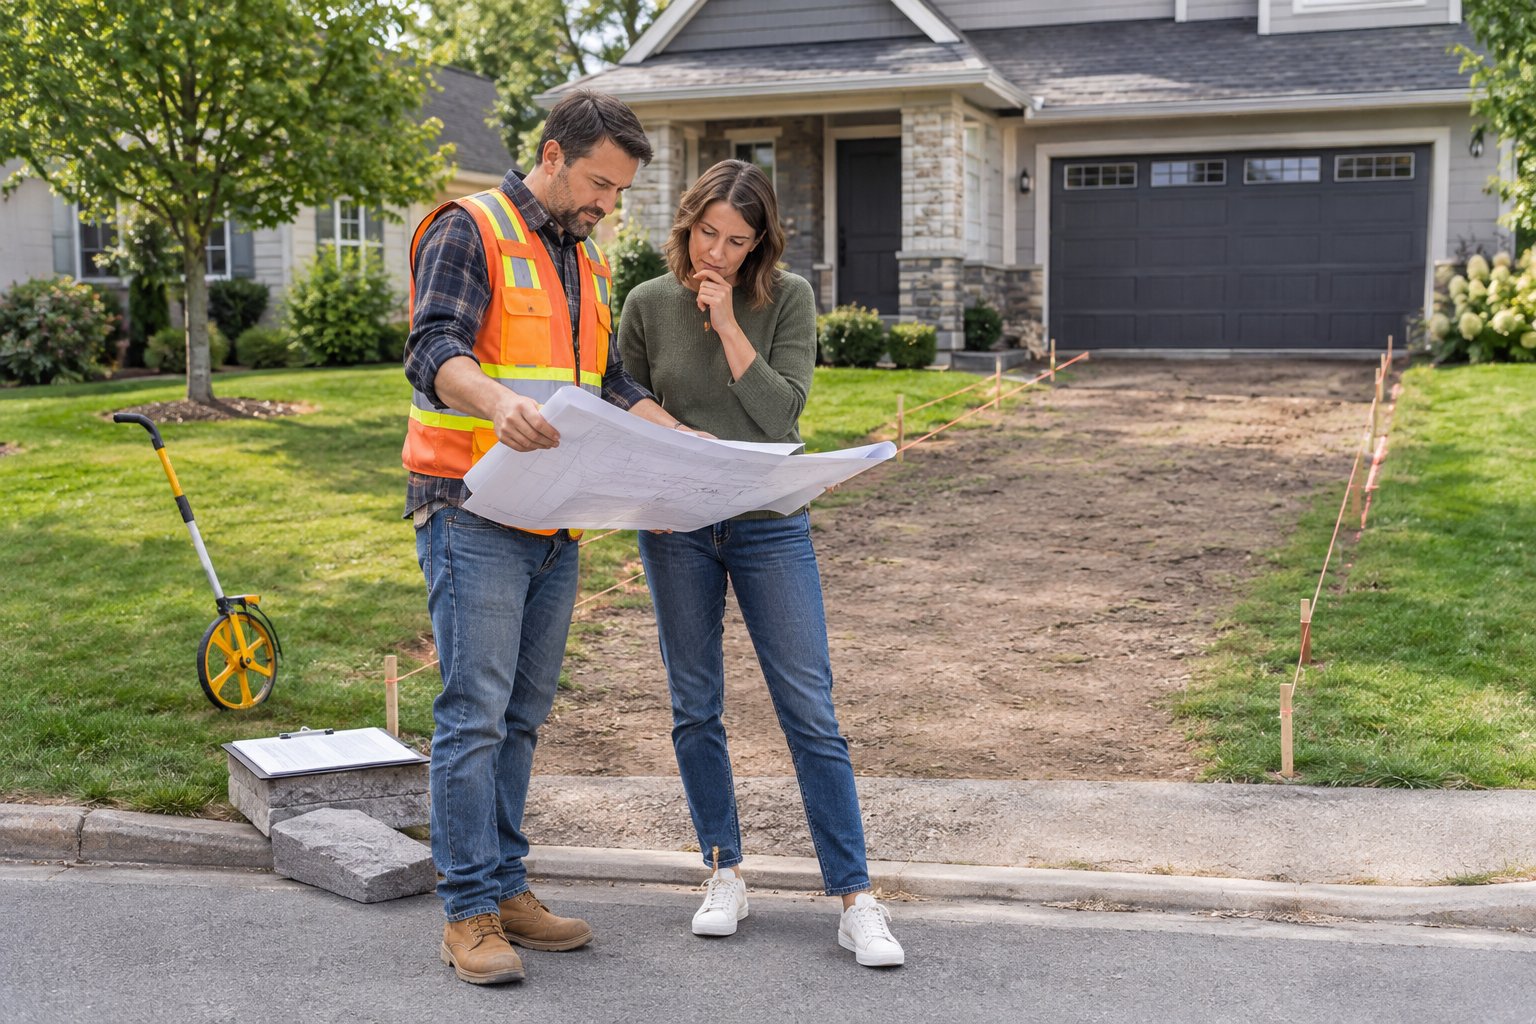
Good planning covers layout, grades, drainage, permits, and buried utilities before excavation. Each one is cheaper to solve on paper than in the field.
Choose the Width, Layout, and Turning Space
Single-car driveways commonly run 10 to 12 feet wide, and two-car widths reach 20 feet or more. Add room where people step out of cars and where the drive curves, since vehicles cut corners. If backing onto a busy street is unsafe, plan a turnaround pad or a circular driveway with a second entrance.
A circular driveway needs enough frontage for two curb cuts and an inside radius large enough for your vehicles. In Seattle, the number and width of curb cuts are set by the Land Use Code, so confirm what your lot allows before committing to a two-entrance layout. Curves and custom shapes also add forming and labor cost.
Plan Grades, Garage Transitions, and Drainage
Every driveway needs a slope that moves water away from the house. A gentle fall of 1 to 2 percent across or along the surface is a common target on flatter lots. Seattle code caps driveway slope at 20 percent, and grade changes need vertical curves so cars do not scrape or bottom out. Those grade breaks must begin at the property line, not in the street right-of-way.
At the garage, the driveway should sit slightly below the slab and pitch away from the door. Plan where runoff goes: a trench drain at the garage, a catch basin at a low point, or a swale along the edge. We have corrected steep entrances where cars scraped on every trip; a change in slope at the transition made the difference.
Confirm Property Lines, Permits, and Street Access Requirements
Know where your property ends and the public right-of-way begins. In Seattle, cutting a new driveway into an existing curb requires a curb cut permit, issued by SDCI and inspected by SDOT. Where no curb exists, a Street Use driveway permit from SDOT applies, and the design must match current or future street grades.
Replacement projects, drainage connections, and work over side sewers can trigger their own reviews. Our Seattle driveway replacement codes and permits guide covers those details. Outside Seattle, King, Snohomish, and Pierce county jurisdictions set their own driveway approach rules, so check with your city or county.
Locate Underground Utilities Before Excavation
Washington law requires you to call 811 before you dig, at least two business days ahead. Outline the dig area with white paint first so locators can find it. The request is free, and utilities mark their lines with color-coded paint or flags.
Public locators do not mark private lines. Power to a detached shop, invisible pet fences, irrigation, septic lines, and yard lighting stay unmarked unless you hire a private locator. Near marked lines, crews switch to hand tools to expose them safely.
How Is a Stable Driveway Base Built?
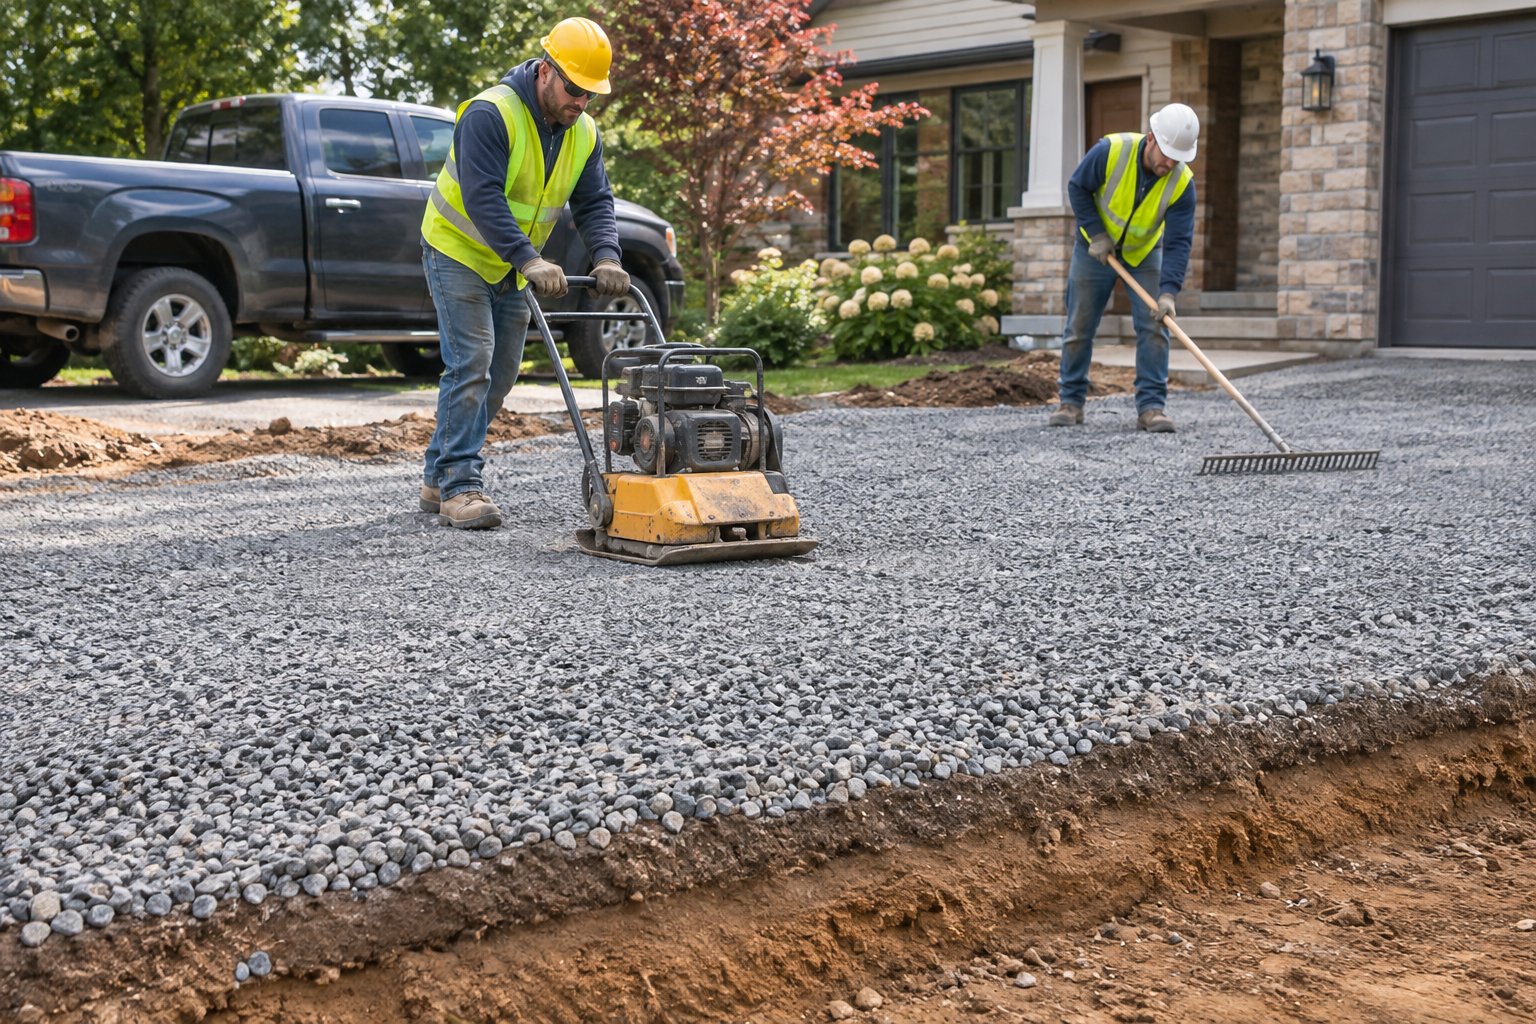
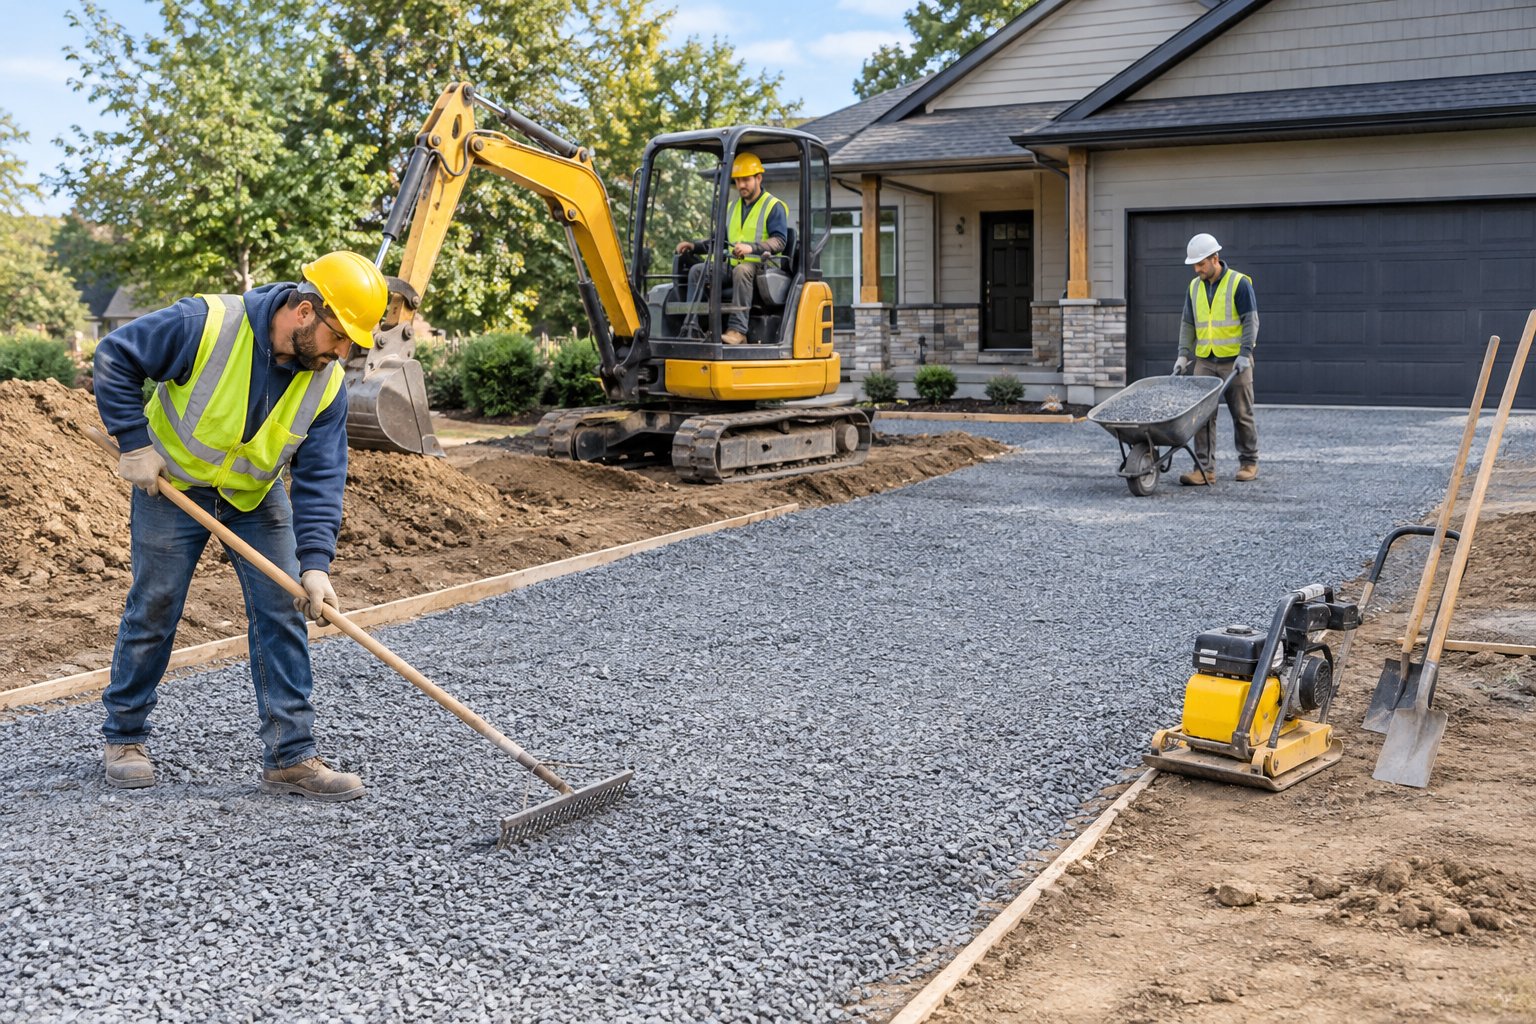
A stable base comes from removing weak soil, firming the subgrade, and compacting crushed rock in thin layers. In wet soils, this stage protects the surface from sinking and cracking.
Remove Old Pavement, Vegetation, and Unsuitable Soil
Crews start by removing old asphalt or concrete, sod, roots, and topsoil. Organic material rots and compresses over time, leaving dips under the pavement. Excavation depth depends on the planned base and surface thickness plus any soft soil that must go.
Old asphalt and concrete are hauled away, and some is recycled. Large roots near the drive are a judgment call: cutting them helps the base but can harm the tree, so discuss it before work starts.
Evaluate Soft Spots and Prepare the Subgrade
The subgrade is the native soil under the base. Crews grade and compact it, then watch how it reacts under heavy equipment. Ground that pumps, ruts, or springs back shows a soft spot, a test the industry calls proof rolling.
Common fixes in the Northwest include digging out wet clay and replacing it with crushed rock, adding geotextile fabric to separate soil from rock, and installing drains where groundwater sits. We have excavated and rebuilt parking areas where water and clay had broken down the original base. Skipping this step leads to the same failure later.
Place and Compact the Aggregate Base in Layers
The gravel base is crushed stone with mixed particle sizes that lock together when compacted. Seattle standards for private access easements call for at least 6 inches of crushed rock, or 3 inches of asphalt over 6 inches of crushed rock, and many residential driveways use a similar base. Soft soil or heavy vehicles call for more.
Rock goes down in lifts of a few inches and is compacted with a roller or a plate compactor on smaller areas. Moisture affects compaction: rock that is too dry won’t pack tightly, and saturated rock pumps. A thick single layer compacts only at the top and settles later.
Check Elevations and Drainage Before Surfacing
Before paving or pouring, the base is checked against planned grades with a laser or string lines. Crews confirm water will flow toward drains or swales, the garage transition sits correctly, and the street connection matches. Low spots get fixed in the rock, since paving cannot hide them.
This is also the time to set drain pipes, sleeves for future wiring or irrigation, and catch basins. Running water over the base, or walking it after rain, shows where puddles want to form.
How Does Installation Differ by Surface Material?
Each surface goes on the base differently. Asphalt depends on temperature and rolling, concrete depends on forms, reinforcement placement, and joints, and gravel depends on grading and edge control.
Asphalt Placement, Rolling, and Edge Support
Hot asphalt arrives by truck and is spread with a paver or by hand in tight spots. Rolling must happen while the mix is hot, since asphalt has to be compacted before it cools to about 185°F. Cool, damp Northwest weather shortens that window, which is one reason paving schedules follow the forecast.
Edges need support. Unsupported asphalt edges crack and crumble as tires roll over them. Crews taper or thicken the edge, compact along it, and backfill with soil or rock. Our post on what Seattle residents should expect during the asphalt paving process covers each step of a paving day.
Concrete Forms, Slab Thickness, and Reinforcement
Wood or metal forms set the slab’s shape and top elevation. Residential driveway slabs commonly run 4 inches thick, with 5 to 6 inches where heavier vehicles park; your contractor should size it for your loads and soil. The slab should also thicken at edges and street approaches when the design calls for it.
Rebar or wire mesh holds cracks tight once they form. Reinforcement does not stop concrete from cracking. Concrete shrinks as it dries and moves with temperature, so cracks will appear. Steel keeps them from widening or shifting, and it only works when it sits in the middle of the slab on supports, not on the ground.
Concrete Control Joints and Traction Finishes
Control joints are grooves cut or tooled into the slab to create weak lines where cracks form neatly. They are made with a groover in fresh concrete or sawn once the slab can resist raveling. Spacing and depth should follow the slab thickness, and timing is critical for sawn joints.
On a sloped Seattle driveway, a broom finish adds grip in rain and frost. Finishers drag a broom across the surface once it is firm enough to hold the texture. Smooth troweled finishes look sleek but get slick when wet, so they suit garage floors better than outdoor drives.
Gravel Placement, Grading, and Edge Containment
Surface gravel goes over the compacted base and is shaped with a crown or cross slope so water sheds to the sides. A flat gravel drive holds puddles that become potholes. Compacting the top layer helps it resist rutting.
Edging keeps rock from migrating into lawns and beds. Options include concrete curbs, steel or plastic edging, timbers, or a strip of larger rock. On drives that meet a paved street, a short paved apron stops gravel from spilling onto the road.
How Much Should You Budget for a New Driveway?
Size, material, and site conditions drive the cost. Published Seattle-area figures help set expectations, but a site visit sets the price.
Measure Surface Area and Estimate Material Quantities
Multiply length by width for each section, then add areas for turnarounds and flares. One published Seattle-area cost guide lists these installed ranges:
| Material | Published Seattle-area range |
|---|---|
| Gravel | $3 to $5 per sq ft |
| Asphalt | $7 to $13 per sq ft |
| Concrete | $8 to $18 per sq ft |
Treat these as planning numbers, not quotes. Thickness, base depth, and finish shift where your project lands. Our breakdown of costs to install each driveway material in Seattle goes further into per-material pricing.
Account for Excavation, Disposal, Drainage, and Access
Site work drives budgets as much as the surface does. Removing old pavement, hauling soil, replacing soft clay, and adding base rock all add cost. Drainage items such as trench drains, catch basins, and pipe runs are line items of their own.
Access matters too. Narrow streets, steep lots, overhead lines, and tight side yards slow trucks and equipment, and permits and inspections add fees and time. Spring and summer are the busiest seasons, so booking early helps.
Compare Upfront Costs with Long-Term Maintenance
Gravel saves money on day one but needs new rock and regrading regularly. Asphalt costs more upfront and needs crack filling and sealcoating every few years. Concrete costs the most to install but asks for less routine care, mainly joint sealing and cleaning.
Spread the cost over the years you plan to stay. A driveway you will use for 20 years justifies a stronger base and a longer-lived surface.
What a Detailed Contractor Estimate Should Include
A good estimate lets you compare bids line by line. Look for:
- Square footage and surface thickness
- Base rock depth and compaction method
- Demolition, excavation, and disposal
- Subgrade repair approach if soft spots appear
- Drainage features and where runoff goes
- Permit handling and who pulls it
- Edge treatment, joints, or finish type
- Schedule, weather terms, and cleanup
Customers often tell us a detailed emailed estimate with photos made comparing bids easier. Our checklist for choosing an asphalt contractor in Seattle lists questions to ask, and you should request current license and insurance documents from any contractor.
How Long Will Installation and Return to Use Take?
Most residential driveway construction takes a few days to a couple of weeks from demolition to finished surface. Concrete adds curing time before you can drive on it.
How Weather, Site Access, and Project Scope Affect Scheduling
Rain is the biggest variable in Western Washington. Asphalt should not go down on standing water or saturated base, and heavy rain can damage fresh concrete. Good contractors keep you updated when a forecast shifts the schedule.
Project size and complexity matter too. One customer’s 4,000-square-foot driveway with a 250-foot berm was completed in two days, while jobs with drainage work, soil replacement, or permits take longer. Expect delays on sites with tight access.
Concrete Curing vs. Asphalt Cooling
Asphalt and concrete harden in different ways. Asphalt sets as it cools, so it gains firmness within hours. Fresh asphalt stays soft for a while in warm weather, and power steering turns or kickstands can scuff it. Contractors commonly suggest waiting a few days before driving and longer before heavy vehicles.
Concrete gains strength through a chemical reaction called curing, which needs moisture and time. Light foot traffic is usually possible within a day or two, cars after about a week, and heavy trucks later. Keeping the slab damp or covered during early curing helps it reach full strength. Follow your contractor’s timing, which depends on the mix and the weather.
Which Tasks Are DIY-Friendly and Which Need a Contractor
Homeowners can handle clearing plants, marking the layout, calling 811, and moving items out of the way. Small gravel paths are a manageable weekend project with a rented plate compactor.
Hot asphalt placement, concrete pours, grade work at the street, and permitted curb cuts need trained crews and equipment. Our Seattle driveway contractor crews handle new installs and replacements, including steep drives that need grading corrections.
Plan Parking and Access During Construction
Line up street parking or a neighbor’s spot before work starts. Move cars out of the garage, since you may not get them out for days with concrete. Tell delivery drivers, and plan foot access to your door around the work zone.
Keep kids and pets off fresh surfaces, and place barriers across the entrance so visitors don’t drive in by mistake.
What Maintenance Helps a Driveway Last?
Regular driveway maintenance focuses on water, cracks, and surface wear. A few hours a year prevents most early failures in wet weather.
Keep Drainage Paths Clear and Watch for Settlement
Clear leaves, needles, and moss from drains, edges, and swales each fall. Point downspouts away from the driveway. Water that pools or runs under pavement softens the base.
Watch for sinking areas, especially near downspouts and edges. Settlement means the base is losing support, and early repairs cost far less than rebuilding.
Address Asphalt Cracks and Schedule Surface Treatments
Fill asphalt cracks when they are small to keep water out of the base. Sealcoating every few years protects the surface from oxidation and moisture. Our asphalt sealing service includes crack filling and sealcoat for driveways and private roads.
Avoid sealing too often, since buildup can peel. Our guide to asphalt maintenance in Seattle’s wet weather covers timing around rainy seasons.
Care for Concrete Joints and Surface Protection
Keep joints sealed with flexible sealant to stop water and weeds. Wash the surface periodically to remove moss and grime that make it slippery. A penetrating sealer every few years helps resist moisture and stains.
Use sand or a concrete-safe product for ice. Some deicers damage young concrete, so avoid them during the first winter.
Regrade Gravel and Replenish Lost Aggregate
Rake or grade gravel to restore the crown and fill low spots before they become potholes. Add fresh crushed rock where the surface thins. Spring is a good time, after winter rain has done its damage.
When Repairs, Resurfacing, or Replacement Make Sense
Isolated cracks and potholes call for spot fixes like pothole repair. When asphalt shows widespread surface wear but a sound base, asphalt resurfacing adds a new layer for less than full replacement. Widespread cracking, heaving, or sinking points to base failure, and full replacement is the lasting fix.
Build for Your Site, Not Just the Surface
A long-lasting driveway comes from decisions made before the top layer goes down. Choose a material that fits your slope, vehicles, and upkeep budget. Plan grades, drainage, permits, and utility locates early. Build a firm subgrade and a compacted crushed-rock base, then install the surface with attention to temperature, joints, and edges.
Since 1995, Economy Asphalt & Concrete has built driveways across Seattle and King, Snohomish, Pierce, Whatcom, Skagit, and Island counties, including steep entrances that needed grading corrections and projects combining asphalt and concrete. To discuss your site, call 206-384-8783 or email moc.stlahpsaymonoce@ofni to schedule a free consultation.
Frequently Asked Questions
What is the cheapest option for a driveway?
A gravel driveway has the lowest upfront cost. Published Seattle-area figures run about $3 to $5 per square foot installed. It needs regular regrading and new rock, so long-term costs add up.
Is asphalt cheaper than concrete for a driveway?
Yes, an asphalt driveway usually costs less to install than a concrete driveway. Concrete lasts longer with less routine upkeep, while asphalt needs crack filling and sealcoating every few years.
How much would a 200-foot driveway cost?
A 200-foot driveway at 12 feet wide covers 2,400 square feet. Using published Seattle-area ranges, that works out to roughly $7,200 to $12,000 for gravel or $16,800 to $31,200 for asphalt, before major grading, drainage, or soil fixes. Get a site-specific estimate, since base work on long drives varies widely.
Can you build a gravel driveway directly over grass?
No, grass and topsoil should come out first. Organic material rots and compresses, leaving ruts and dips. Remove the sod, compact the subgrade, add fabric where soil is soft, and place a compacted crushed-rock base.
How thick should a concrete driveway be?
Residential concrete driveways commonly run 4 inches thick, with 5 to 6 inches for heavier vehicles. The right thickness depends on your soil, base, and loads, so follow your contractor’s recommendation.
Do I need a permit to build a driveway in Seattle?
Often, yes. A new driveway cut into an existing curb needs a curb cut permit, and a driveway joining a street with no curb needs a Street Use driveway permit from SDOT. Drainage connections and side sewer work can require separate permits.